

 www.scribd.com ```html
 Opening: Creating Your Own DIY Shadow Box Shadow boxes are a fantastic way to display cherished memories, collections, and small artwork. Building your own allows you to customize the size, depth, and style to perfectly complement your items. This guide provides a step-by-step approach to creating a beautiful and personalized shadow box.
Step 1: Gather Your Materials and Tools Before you begin, ensure you have all the necessary materials and tools. This will streamline the building process and prevent unnecessary interruptions.
- Wood (of your choice): Pine, oak, or poplar are good options. Determine the dimensions based on what you want to display.
- Glass or acrylic sheet (for the front)
- Backing material: Foam board, cardboard, or thin plywood.
- Wood glue
- Brad nails or screws
- Sandpaper (various grits)
- Wood stain or paint (optional)
- Measuring tape
- Saw (hand saw, circular saw, or miter saw)
- Clamps
- Drill (if using screws)
- Brad nailer (if using brad nails)
- Safety glasses
- Dust mask
- Pencil
Step 2: Measure and Cut the Wood Precisely measure and cut the wood pieces for the shadow box frame. You'll need four pieces: two for the sides, one for the top, and one for the bottom.
- Determine the desired interior dimensions of your shadow box. Add the width of the wood you're using to each dimension to calculate the outer dimensions for cutting. For example, if you want an interior of 8x10 inches and your wood is 1 inch wide, you'll cut the side pieces to 10 inches + 1 inch + 1 inch = 12 inches. The top and bottom will be 8 inches + 1 inch + 1 inch = 10 inches.
- Use a saw to carefully cut the wood pieces to the required lengths. Ensure the cuts are square for a clean, professional look.
Step 3: Assemble the Frame Assemble the four wooden pieces to create the frame of the shadow box.
- Apply wood glue to the edges where the pieces will join.
- Clamp the pieces together, ensuring they are flush and square.
- Reinforce the joints using brad nails or screws. If using screws, pre-drill pilot holes to prevent the wood from splitting.
- Allow the glue to dry completely according to the manufacturer's instructions.
Step 4: Prepare the Backing Cut the backing material to fit snugly inside the frame.
- Measure the interior dimensions of the assembled frame.
- Cut the backing material (foam board, cardboard, or thin plywood) to match these dimensions.
Step 5: Install the Backing Secure the backing material to the back of the frame.
- Apply a thin bead of wood glue (or hot glue, if using foam board) to the back of the frame's inner edges.
- Carefully insert the backing material into the frame and press it firmly against the glued edges.
- You can also use small brad nails to further secure the backing, if desired.
Step 6: Add Finishing Touches (Optional) Sand, stain, or paint the frame to your desired finish.
- Sand the frame to smooth out any rough edges or imperfections. Start with a coarser grit sandpaper and gradually move to finer grits.
- Wipe away any sanding dust.
- Apply wood stain or paint according to the manufacturer's instructions. Allow it to dry completely.
- Consider applying a clear coat of sealant to protect the finish.
Step 7: Install the Glass or Acrylic Front Secure the glass or acrylic sheet to the front of the shadow box.
- Clean the glass or acrylic sheet thoroughly.
- Apply a thin bead of silicone sealant or glazing points to the inside edges of the frame.
- Carefully insert the glass or acrylic sheet into the frame, pressing it gently against the sealant or points.
- (Alternatively, you can build in a rabbet (a groove) when assembling the frame to hold the glass/acrylic in place more securely).
- Allow the sealant to dry completely.
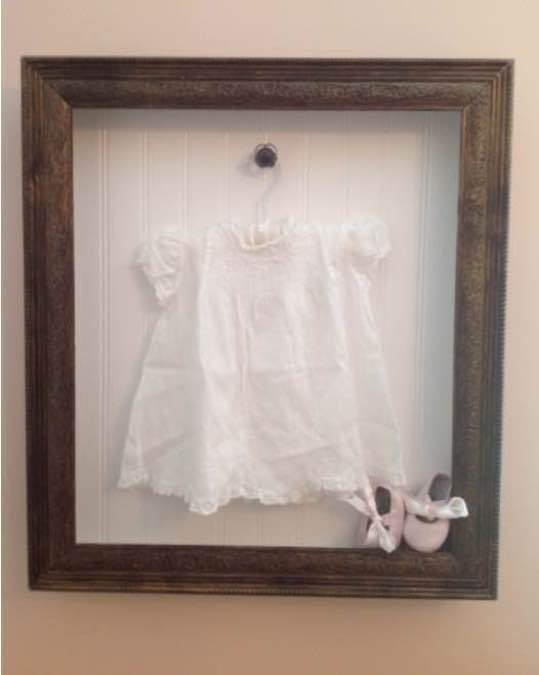
Step 8: Arrange and Display Your Items Arrange your cherished items inside the shadow box and display it proudly.
- Carefully arrange your items inside the shadow box. Consider using acid-free tape or adhesive to secure them in place.
- Close the shadow box (if it has a removable back) or permanently seal it.
- Hang your shadow box on the wall using appropriate hardware or display it on a shelf.
Conclusion: Enjoy Your Personalized Shadow Box Congratulations! You have successfully created your own DIY shadow box. This personalized display piece will showcase your treasured memories and collections in style. Enjoy the satisfaction of crafting something unique and meaningful with your own hands.
``` Shadow Box Pdf
 freewoodworkingplan.com
 Shadow Box
www.scribd.com Free Shadow Box Woodworking Plans Pdf Woodworking
 s3.amazonaws.com

