

 www.grainger.com
 Introduction: The All-in-One Ladder Shelf
Ready to declutter and organize your space with a stylish and functional DIY project? This ladder shelf with storage bins, hooks, and drawers is the perfect solution. It combines open shelving with concealed storage, maximizing your organization potential while adding a touch of rustic charm to any room. Follow these step-by-step instructions to build your own custom ladder shelf.
Materials and Tools: Getting Prepared
Before you start, gather all the necessary materials and tools. Having everything on hand will make the building process smoother and more efficient. Here's what you'll need:
- Lumber (pine, poplar, or your preferred wood):
- Two 6ft x 1in x 12in boards (for the ladder sides)
- Sufficient 1in x 10in boards for shelves (measure your space and desired shelf depth)
- 1in x 4in lumber for drawer fronts and supports
- Plywood or hardboard for drawer bottoms
- Storage bins (choose sizes that fit your shelf depths)
- Hooks (number and style of your choice)
- Wood screws (various sizes, including pocket hole screws if using pocket hole joinery)
- Wood glue
- Sandpaper (various grits)
- Wood stain or paint (optional)
- Polyurethane or sealant (optional)
- Drawer pulls/knobs
- Pocket hole jig (optional, but highly recommended for strong joints)
- Drill/Driver
- Screwdriver
- Saw (circular saw, miter saw, or hand saw)
- Measuring tape
- Pencil
- Clamps
- Safety glasses
- Ear protection
- Level
Step 1: Cut the Wood Pieces
Begin by cutting all the lumber to the required sizes. Ladder Sides: Cut the two 6ft x 1in x 12in boards. If you want the ladder to taper slightly, cut a small angle (around 5-10 degrees) at one end of each board. This will create a wider base for stability. Shelves: Measure and cut the 1in x 10in boards to your desired shelf lengths. Ensure each shelf length is slightly shorter than the distance between the inside edges of the ladder sides. The shelf sizes should decrease gradually as you move up the ladder. Drawer Pieces: Cut the 1in x 4in lumber for the drawer fronts and side supports. Also, cut the plywood or hardboard for the drawer bottoms. Measure your storage bin internal sizes to determine what dimensions the drawer pieces should be to suit the bins you have chosen.
Step 2: Assemble the Ladder Frame
Assemble the ladder frame by attaching the shelves to the ladder sides. Mark Shelf Positions: On the inside of the ladder side boards, mark the locations where you want to attach the shelves. Make sure to measure accurately and use a level to ensure the shelves will be straight. Consider the spacing between shelves based on the height of your storage bins and desired item display. Attach Shelves: Apply wood glue to the edges of the shelves that will contact the ladder sides. Clamp the shelves in place and use wood screws to secure them to the ladder sides. If using a pocket hole jig, drill pocket holes on the underside of the shelves and attach them to the ladder sides with pocket hole screws. Ensure Square: Check that the shelves are square with the ladder sides using a square or measuring tape. Make adjustments as needed before the glue dries.
Step 3: Build the Drawers
Now, construct the drawers that will fit within some of the shelves. Assemble Drawer Boxes: Assemble the drawer boxes using the pre-cut 1x4 lumber. Use wood glue and screws or pocket hole joinery to connect the sides, front, and back. Attach Drawer Bottoms: Attach the plywood or hardboard drawer bottoms to the drawer boxes using glue and small nails or staples. Attach Drawer Fronts: Align and attach the drawer fronts to the drawer boxes. Use screws from the inside of the drawer box to secure the front. Make sure the drawer fronts are flush and even with the drawer box.
Step 4: Add the Hooks
Install the hooks to the sides of the ladder or underneath the shelves. Mark Hook Locations: Decide where you want to place the hooks and mark the positions with a pencil. Drill Pilot Holes: Drill pilot holes at the marked locations to prevent the wood from splitting. Attach Hooks: Screw the hooks into the pilot holes, ensuring they are securely attached.
Step 5: Sand and Finish
Prepare the ladder shelf for finishing. Sanding: Sand all surfaces of the ladder shelf with progressively finer grits of sandpaper (e.g., 120, 180, 220) to create a smooth finish. Pay close attention to edges and corners. Staining or Painting (Optional): If desired, apply wood stain or paint to the ladder shelf. Follow the manufacturer's instructions for application and drying times. Allow the stain or paint to dry completely before proceeding. Sealing (Optional): Apply a coat of polyurethane or sealant to protect the wood and enhance its durability. Follow the manufacturer's instructions for application and drying times.
Step 6: Final Assembly and Placement
Complete the project by adding drawer pulls and placing the shelf. Attach Drawer Pulls: Install the drawer pulls or knobs to the drawer fronts. Position the Shelf: Carefully position the ladder shelf against the wall in your desired location. Use a level to ensure the shelf is stable and straight. Add Storage Bins and Items: Place the storage bins on the shelves and arrange your items as desired.
Conclusion: Enjoy Your Organized Space
Congratulations! You have successfully built a DIY ladder shelf with storage bins, hooks, and drawers. This versatile piece will not only organize your belongings but also add a touch of style to your home. Enjoy your newly organized and clutter-free space!
Buy Lanbitou Ladder, A Frame 4 Step Ladder Extension,14 Ft Anti-slip Multi Position Ladder
 bahamas.desertcart.com
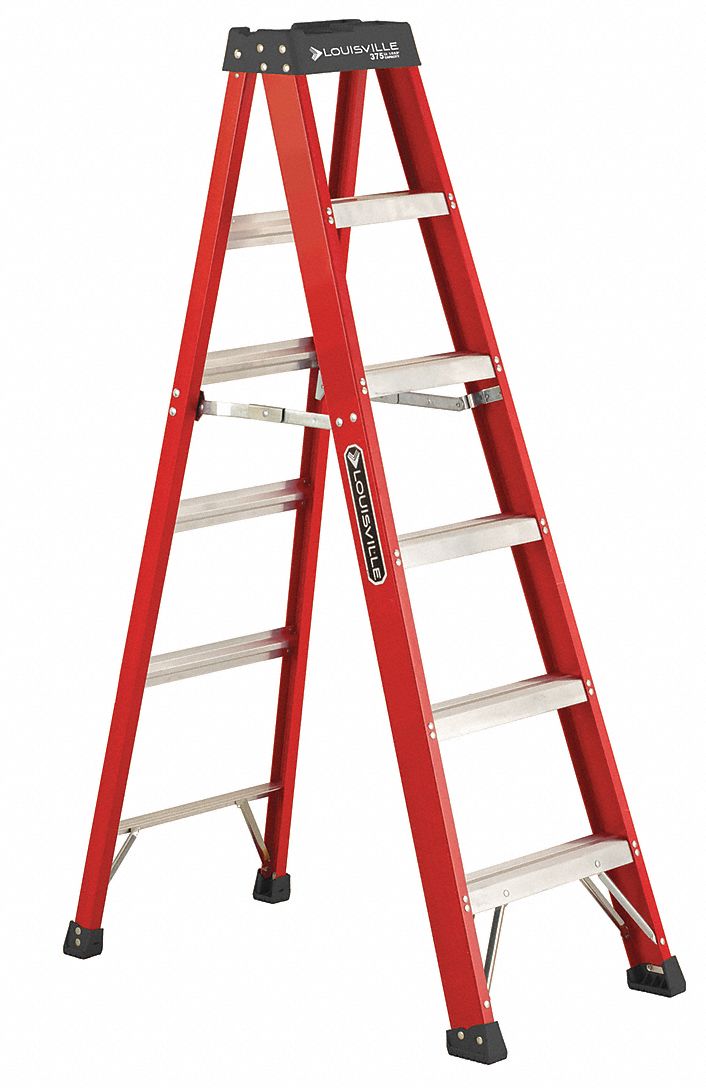
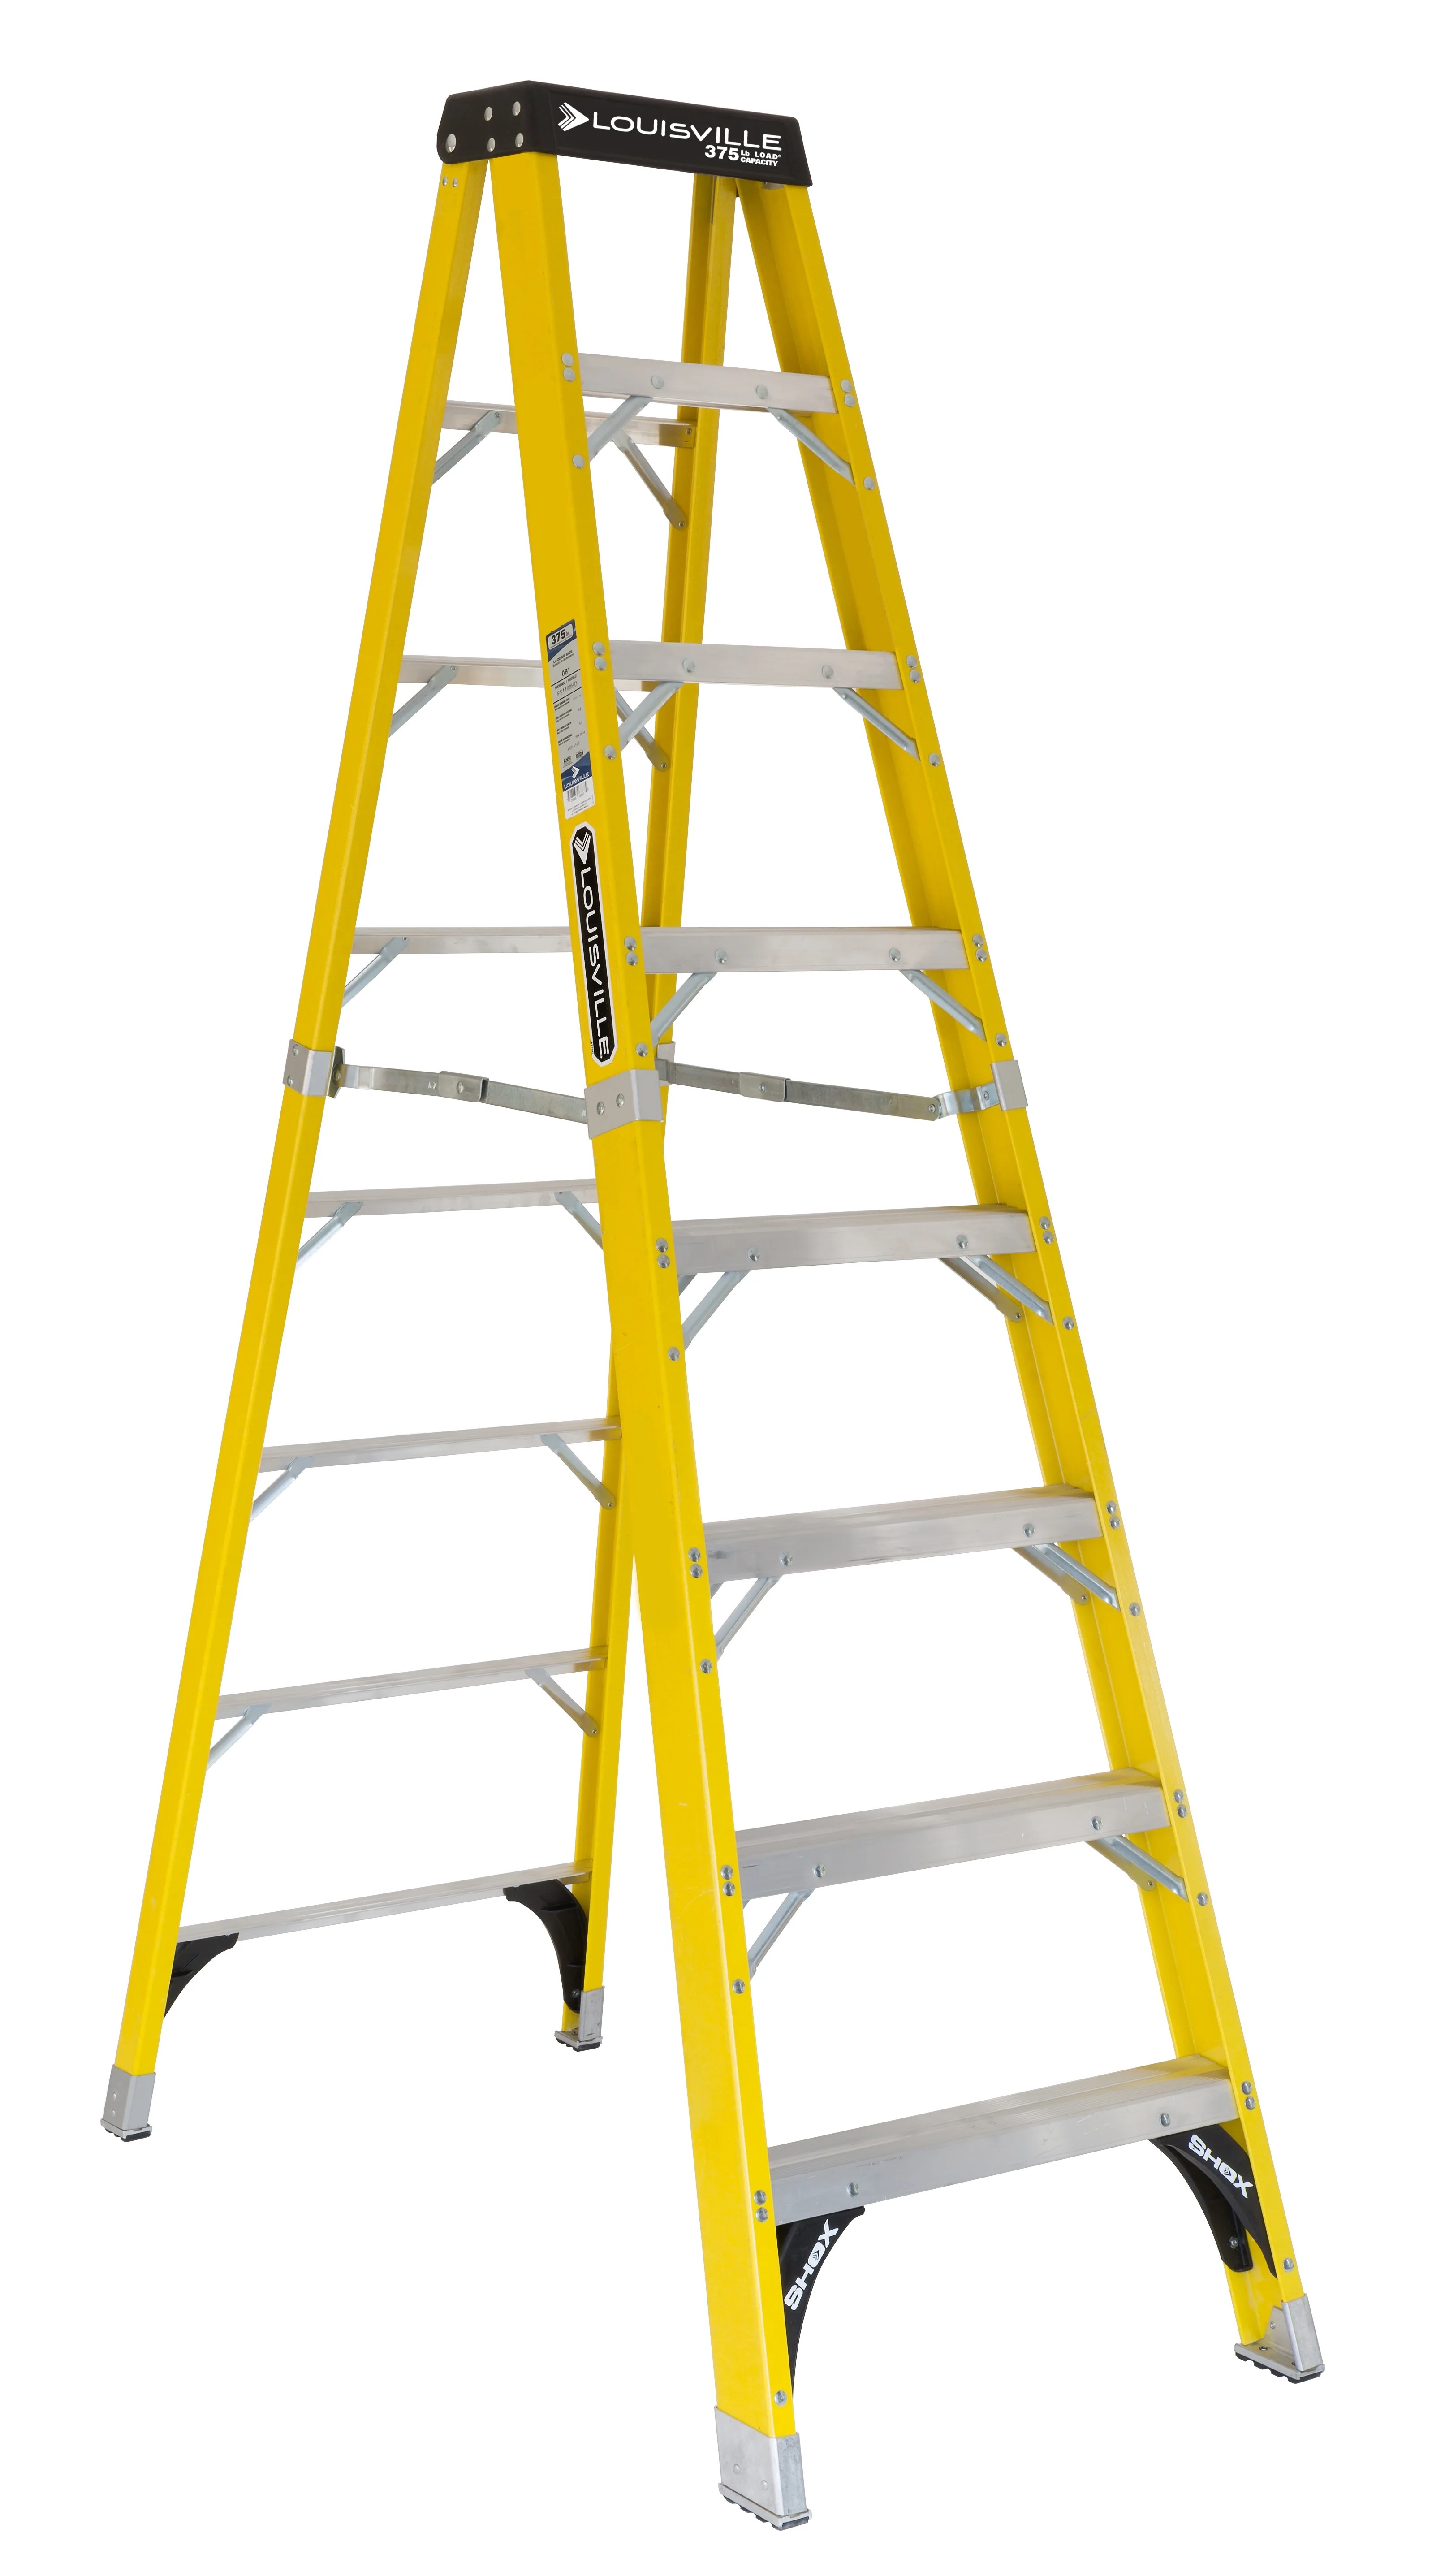
 Louisville Ladder, Fiberglass, 375 Lb Load Capacity, Stepladder
www.grainger.com Different Types Of Step Ladders At Brianna Cook Blog
 storage.googleapis.com

